


12m
Advanced Learning
Now you’ve mastered the basics, it’s time to learn about some of Select’s advanced features.
Learn the basics of Select and get up to speed as soon as possible.
For each new shoot, create a new project from the Projects screen, click the small + icon at the top of the toolbar or hit [⌘ N] (mac) or [Ctrl N] (windows).
Now click Choose a folder, find your folder of images in Finder and click 'Open'. Alternatively, you can drag and drop a folder onto the Select window.
Optionally give your project a name, then click next.
Your images will now import into Select.
Moving
Rating
Pro tip: All the keyboard shortcuts can be found here.
What are .XMP sidecar files?
When you rate an image we create a .XMP sidecar file in your source folder. It’s important that you keep these files in the same folder as your images, or you will lose your ratings.
What do the different ratings mean?
The short answer is– anything you want them to mean! They don't carry any inherent meaning and are a legacy of the way most programs have allowed users to rate images. Many photographers will simply rate images they want to keep with 1 star – but there are many, many other ways to do this. Fnd a way that works for you!
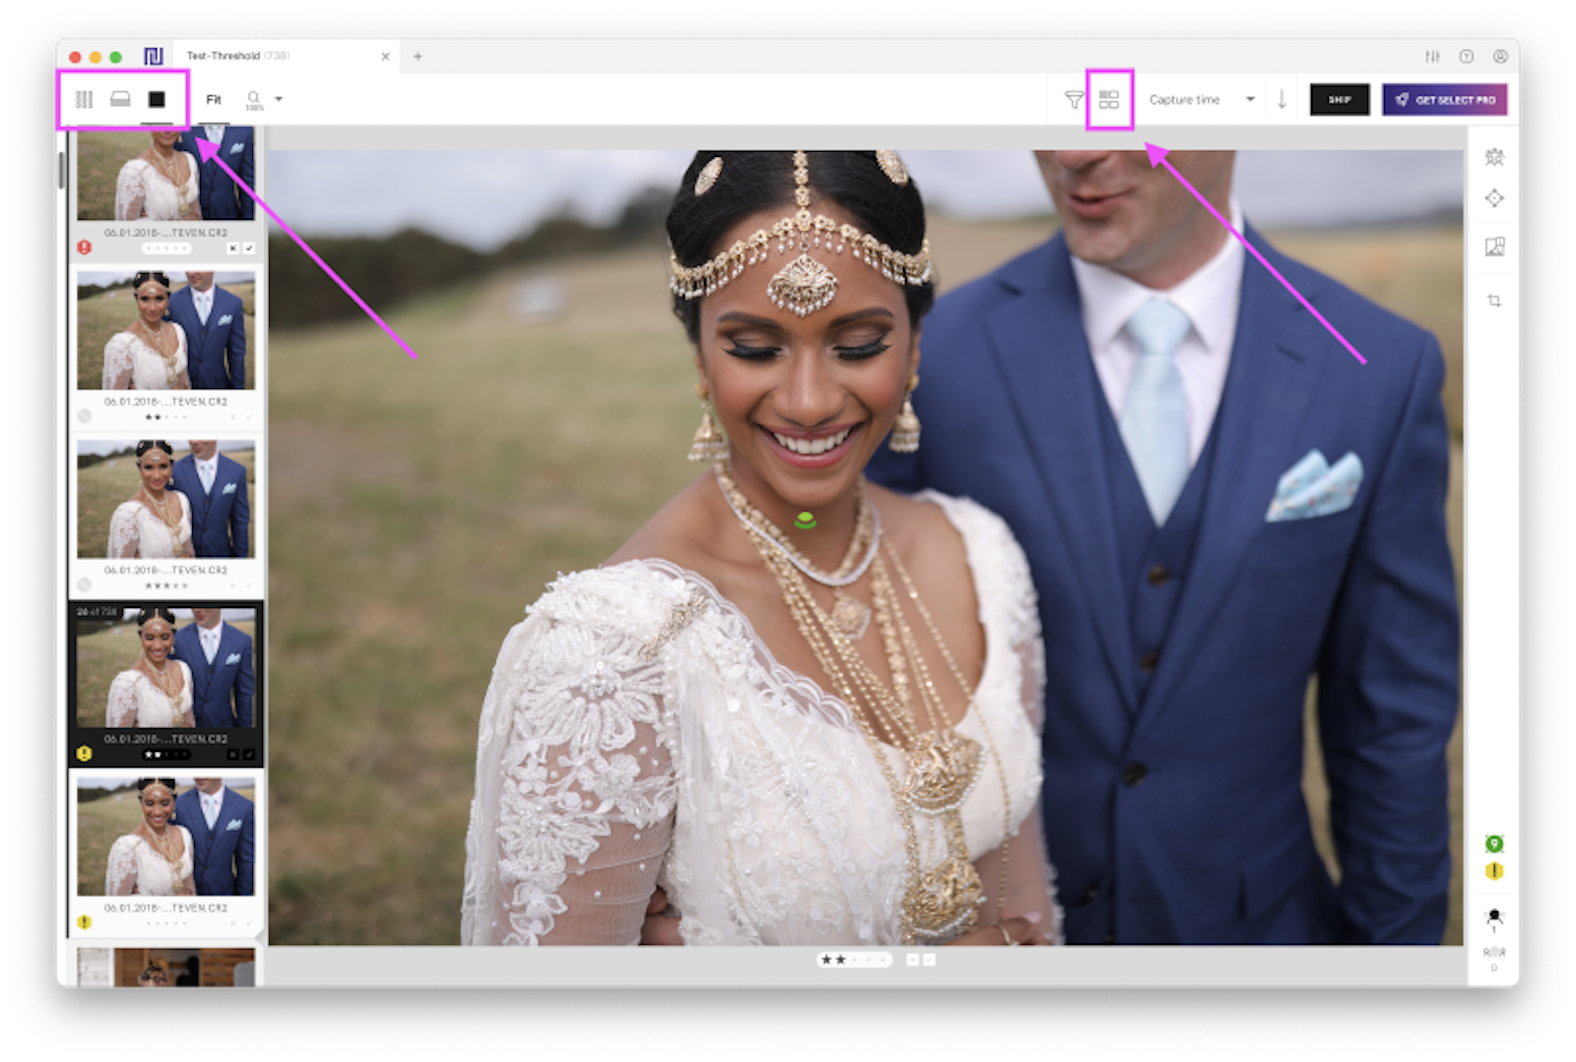
Pro tip: you can customise your workspace, such as the location of the filmstrip from preferences or by right-clicking in Loupe View.
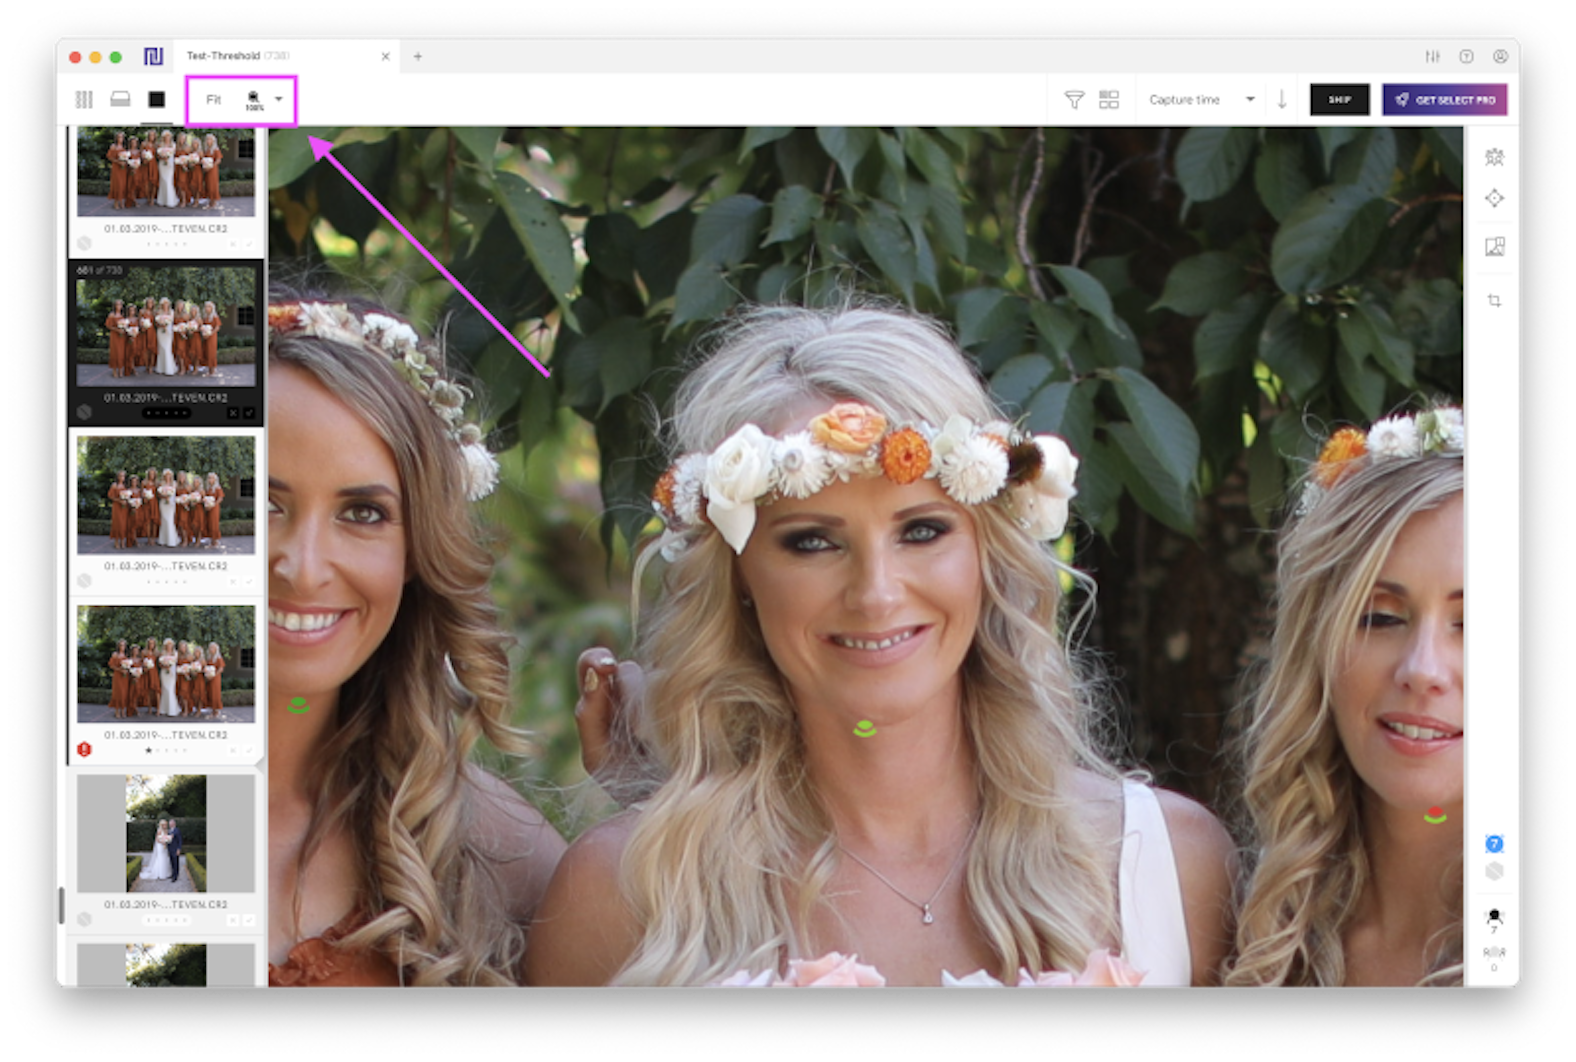
To enter zoom mode tap the [SPACEBAR]. If there are any faces detected in the image you’ll zoom straight to the face closest to the centre.
You can now tap the [←/→] to scroll through all the faces in the image, or click and drag around.
[Up] and [Down] will move you to the next image but keep you in the same place.
By default you’ll zoom to 100% of the original image size. But you can change this with [+] or [-] or by adjusting the slider in the toolbar.
Press the [SPACEBAR] again to leave zoom mode and return to standard mode where the image fits to your screen size.
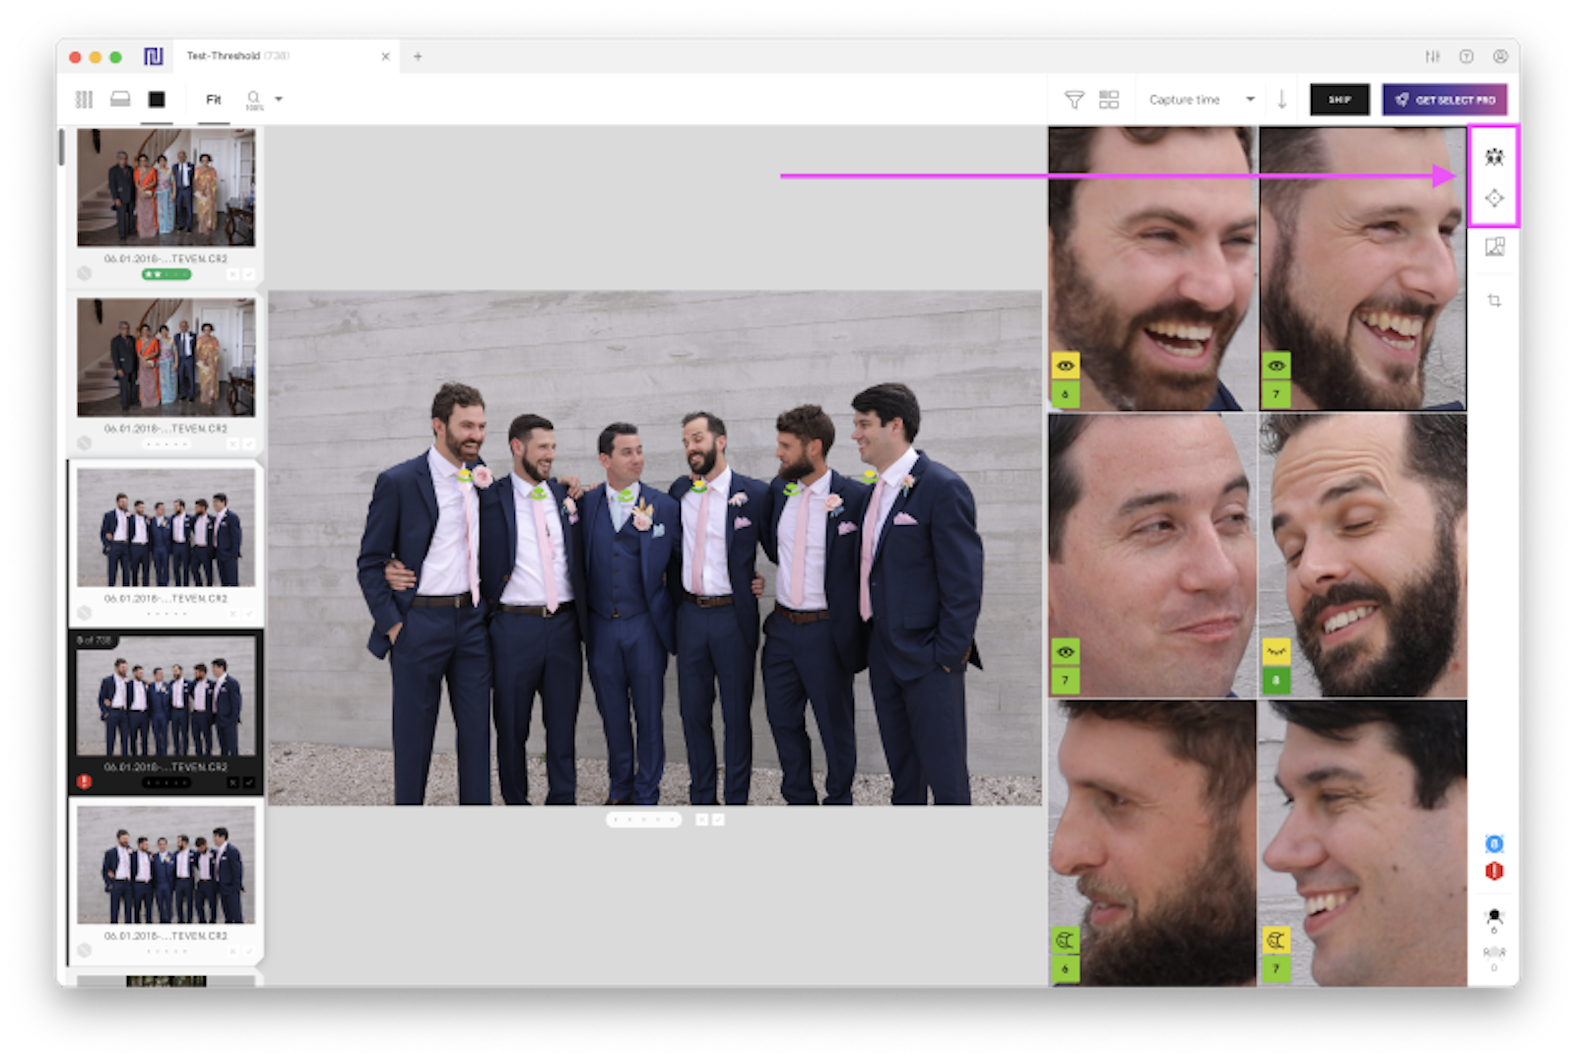
Press [/] to open and close the The Close-Ups panel in Face Mode, or click the icon at the top of the vertical toolbar.
If no faces are detected the Close-ups panel will show in Pan Mode. In Pan Mode you can scroll around a zoomed in portion of the image while keeping the main image in view for context. You can manually enter Pan Mode by clicking the icon or tapping [⌘ /] (mac) or [Ctrl /] (windows).
The icons below each face are our Face Assessments.
The ellipse gives you information about the subject's eyes and expression, and the curved line gives you information about focus.
By default,
Hover your mouse over the icon to get a more detailed explanation. The top row describes their expression, and the bottom row scores the focus of their face out of 10. You should consider a focus score of 8 or above great!
You can choose to have the detailed information show up in the Close-ups panel, and change Face Assessment colors via Prefences.
First Pass is your AI-powered culling assistant. First Pass gives you Image Assessments (the colored hexagons that show up on your image thumbnails) to get you to your best photos faster. There are 3 different assessments you'll see:
These assessments give you guidance based on relative differences between images in a scene – they are not an objective rating of a single image. For example, some images with warnings may not be objectively bad if viewed on their own – but they may be in the undesirable or unlikely category because we believe that there are better images in that scene of simialr images.
Hover over them for a short explanation and to see which scene they refer to. Click the hexagons for a more detailed explanation.
There are two main ways to use the filters with First Pass to help you cull even faster.
Once you’re happy with your selection it’s time to edit your images.
Click the [SHIP] button to get your images into Lightroom Classic (mac and windows) or Lightroom CC, Photoshop (Camera Raw) and Capture One (mac only).
Now you can pick from various options, including which catalog you want to ship to (mac and windows) and which images you want to ship (mac only).
Alternatively, choose which images you want to edit and drag them from the filmstrip over to your editing app icon, or directly into the window.
If you've tried to ship to Lightroom Classic and your images appear greyed out and unselectable this may be because you've previously imported these images into Lightroom. Find out how to resolve this.