


Beyond My Lens: Photographer Katie Levine’s Storytelling Podcast, Supported by Narrative
Blog
By Marc Bergreen // Shotkit
We all love that perfect natural light that makes everyone look good and sunset all day should definitely be a thing. Unfortunately, light is one of those things you can’t plan on a wedding day.
Your understanding of light is critical to your success as a photographer. That’s why we’re sharing these Lighting/Flash Photography Tips for Wedding Photographers.
First, use it when you have to.
Then, use it when you want to.
Depending on your experience level with flash photography, trying to incorporate it all day long and set it up for every shot might be impractical and unnecessary. Wedding days are busy and filled with moments that you might miss if you over complicate your process. However, there are times when lighting becomes necessary.
Before you just throw a flash on your camera, you really need to understand light and shadows. You’ll want to learn about things like color, hardness, angle, and intensity. The better your understanding of light, the easier adding your own will be.
As photographers we’re constantly searching for good light. We walk into a room and head to the window for soft window light or out in the mountains we look for interesting and dramatic angles. In order to create photos, we use the light around us but sometimes there’s just not enough light and we need to add our own.
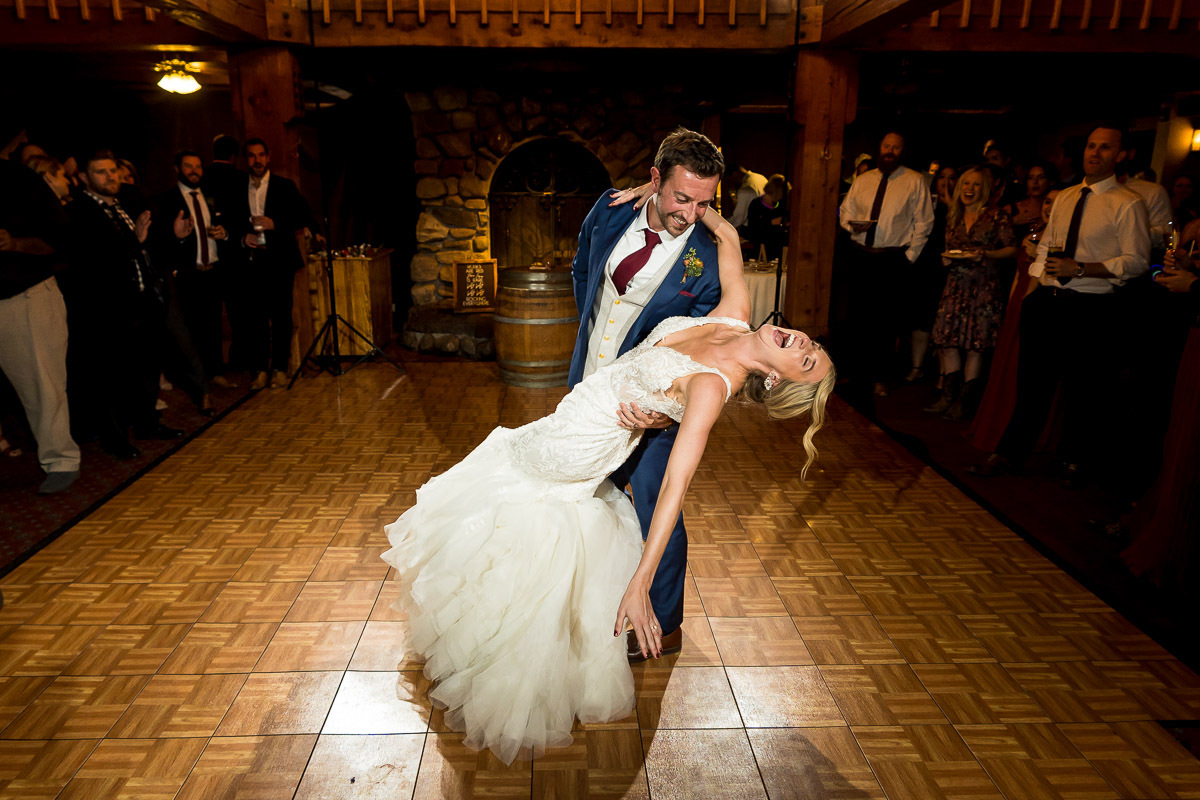
You’ll definitely want to have a plan for lighting the wedding reception. As the sun goes down it becomes harder for your camera to capture everything and eventually you’ll need to use flash. Additionally, if you’re spending a lot of the day indoors you may need supplemental light.
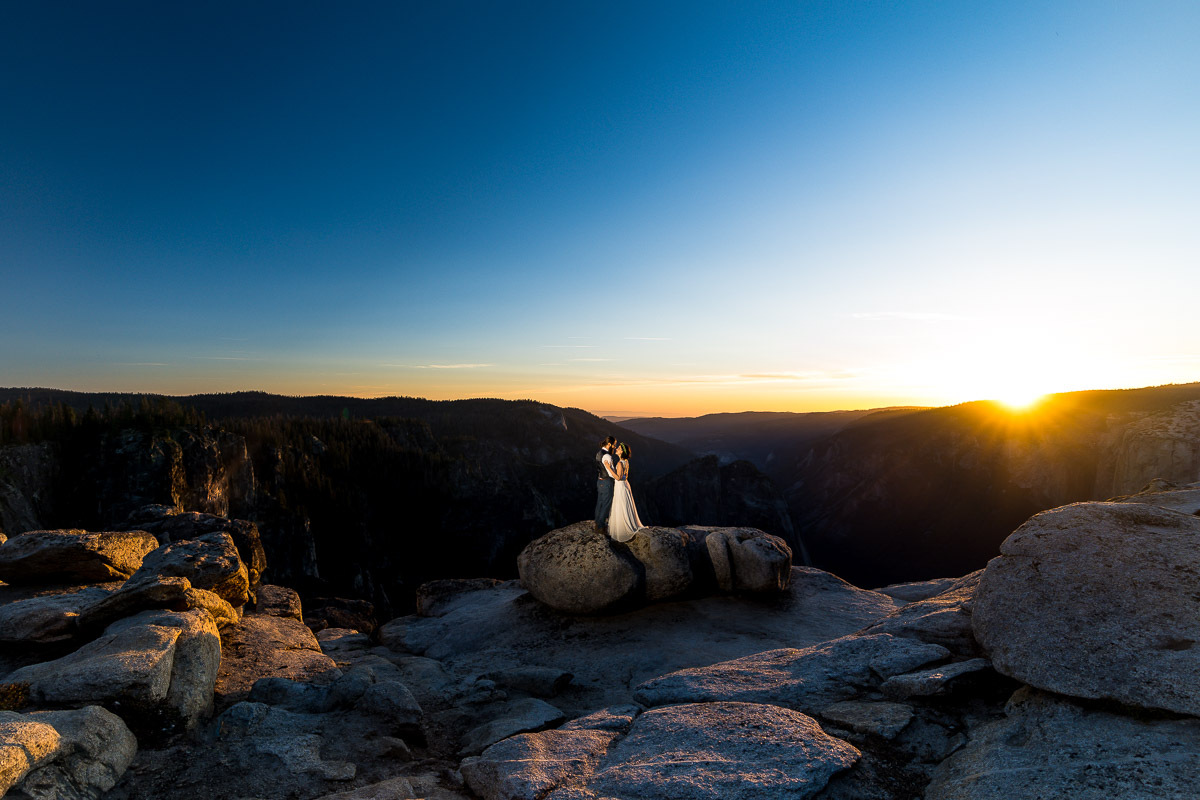
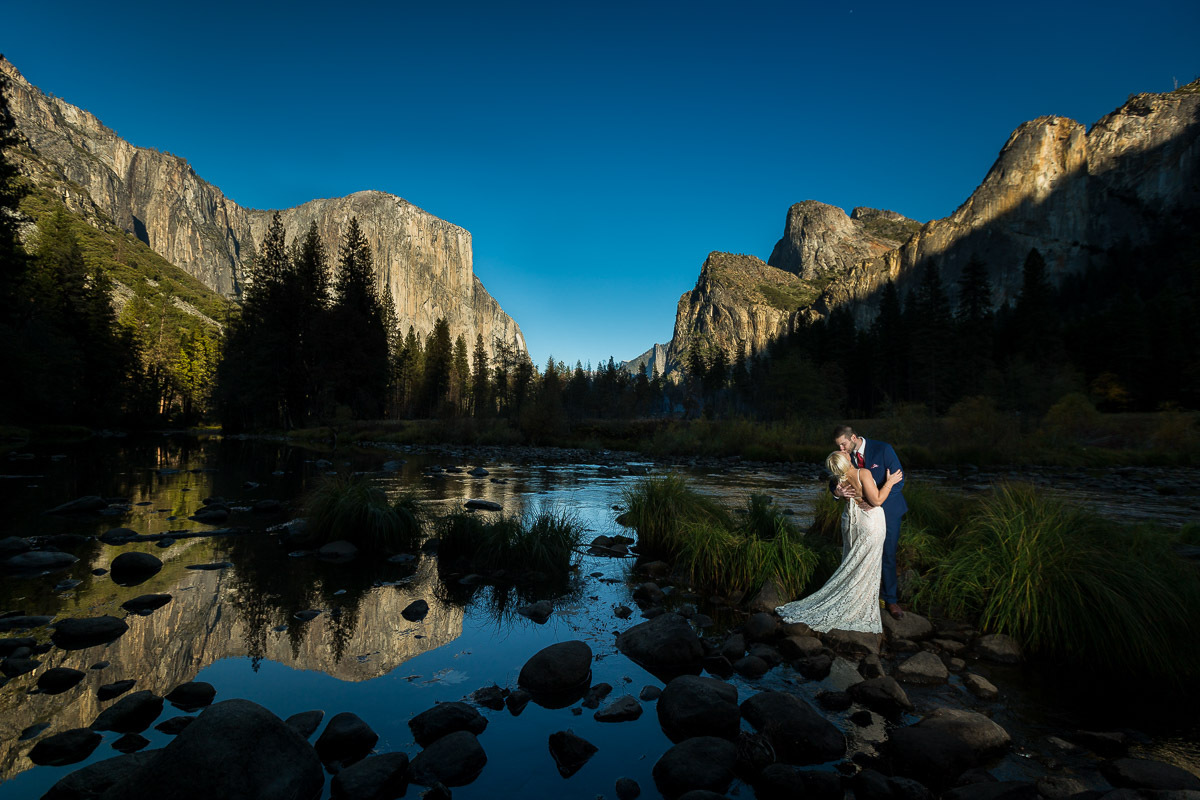
There are other times you might want to use additional lighting to make sure that your pictures are strong. You might need to add flash to balance the foreground and background or to fill shadows. If the sun is at an angle you can put it in front or behind your subject, but if it’s overhead there’s no way around those big shadowy eye pockets.
Wedding photographers are often told to try to find open shade to do family and group pictures, and this is sound advice. However, if on the wedding day you’re at a venue with a stunning background then the family and guests will demand that you shoot family pictures with said background. Now you’re faced with the challenge of balancing your exposure between your subjects and that background.
As you get more comfortable with flash as a tool, you can start to use it creatively. You can use flash to spotlight your subject or make a distracting background disappear. You can use lighting to level up your photos in a way that sets you apart from every iPhone photographer at the wedding.
Once you figure out when you need or want to use flash, the next question on your mind is how. There are a handful of techniques that are worth learning and experimenting with. Let’s walk through some of them.
On camera flash gets a bad rep because the light it creates is hard, direct, and predictable. However, if you’re just starting out, it may create hard light but it’s a simple technique. If you want to make it softer and less direct you can use a modifier or bounce your flash.
In simple terms, bounce flash means pointing your flash at the wall or ceiling and allowing it to bounce off the wall and then hit your subject. Bounce flash is a great method for adding soft light without a crazy setup, provided you have something to bounce your flash off of that’s of neutral color. In other words, this doesn’t work outside in the dark of night or a room with super tall ceilings.
It does however work beautifully in those white wedding tents that can often be too short for an off camera flash set up. So don’t bypass this technique based on it’s simplicity. You might find yourself coming back to it.
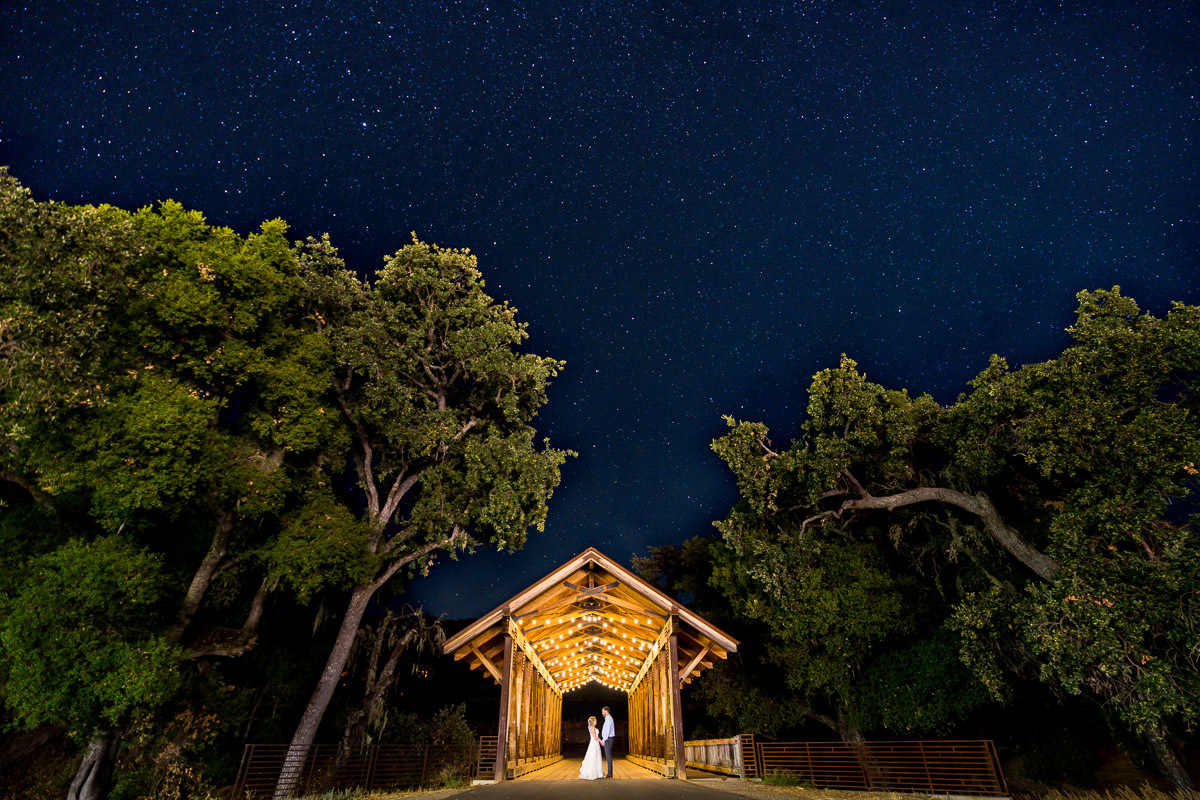
If you’re ready to get more complicated and intentional, it’s time to look into off camera flash. In simple terms this means we are taking the flash off the camera and letting it come from somewhere else. You’ll need a flash trigger on your camera that controls the flash with a radio signal. (Older flash models used optical signals which are less reliable.)
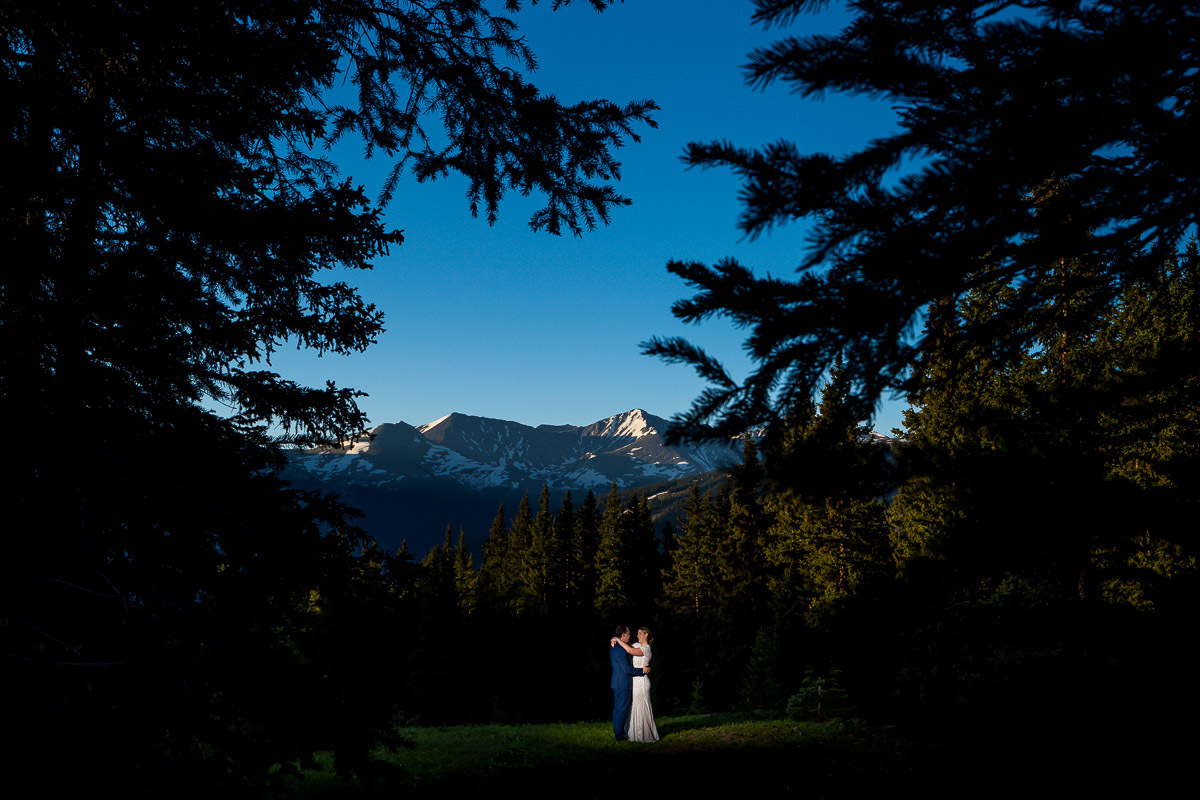
Off camera flash can be simple to control if you have a light stand or assistant to hold your light. Point the flash at your subject and spotlight them. This technique allows you to control the direction of the light and then you can use a modifier like a grid, softbox, or gel to control hardness and color.
Additionally, you can use multiple off camera flashes to add more dimension to a photo. For example, you might spotlight your subject from the left and then add some rim light from behind. On a dance floor, you might surround the venue with a two or four light setup in order to be able to shoot in all directions without needing to move your lights.
As you get more into lighting and flash photography for weddings, your gear list starts to get longer. On camera flashes, off camera flashes, flash triggers, light stands, modifiers, batteries, and more. Not to mention back-ups in case anything fails.
In summary, it’s vital that you understand light and shadows so that you can figure out when and how to use flash and lighting in your wedding photography. It’s good to have a plan or favorite technique but it’s also good to know other options in case you walk into a room where your favorite technique doesn’t work.
As you add techniques to your toolbelt you’re also adding gear to your camera bag. Try not to get bogged down. Understanding the concepts is one thing, now you have to learn how your particular equipment works.
I still love sunsets, but it’s nice to be able to use flash to balance exposure or get creative!
Images by Bergreen Photography

