The Best Way to Back Up Your Photoshoot


Anete Lusina Photographer and Writer
Tuesday, February 8, 2022
One of the most important things about being a photographer is backing up your photoshoots. Losing your files can be disastrous and nerve-wracking. But don't stress because we have the ultimate backup plan!
Photographers know that most technology will break or fail at some point. No wonder most tend to carry at least two cameras and a handful of memory cards for each photoshoot to be on the safe side.
You should also apply the same principle to your photo and video backup. For example, many photographers follow the 3-2-1 backup strategy, an industry standard for storing pictures and videos.
The method ensures you have at least three copies of every file you've shot. If you follow this strategy, you store two copies locally but on different devices and one copy off-site. To make it a more clear-cut process for you, follow our simple guide that will help you keep your images safe and accessible for years.
Use a Dual-slot Camera Body

Most modern digital cameras have a dual slot for memory cards. Using two memory cards at once gives you an option to shoot on both simultaneously. Doing so is a simple way to instantly have a backup of your photoshoot because memory cards can fail just like any other photo equipment.
You can further minimize risk by using reliable memory cards designed for professionals. Once you've finished your shoot, it's also a good idea to put one memory card in a cardholder and carry it on you. You can get portable cardholders that easily fit in your wallet or pocket.
Leave the other copy in a different place, like the boot of your car or your camera bag. That way, if any of your gear gets lost or stolen, you still have a second copy of the photos on you. Dealing with the loss of equipment is stressful enough, but at least you know your clients' images are safe.
Back-up to an HHD/SSD

Solid-state drives (SSD) and hard disk drives (HDD) are excellent choices for storing your images once you get back from your shoot. Whichever SSD or HDD option you go for, use it as the first destination of your three backups.
For comparison, SSDs are newer, faster, and smaller than HDDs but can be more expensive. On the other hand, HDDs have been around for decades and rely on moving parts. The faster they spin, the faster they can read and write data. Your computer or laptop always needs at least one of them, but you can also use both.
Overall, your choice of HDD or SSD will depend on the type of computer or laptop you use, whether you need access to files on the go, your budget, and how much additional space you need. It's worth learning more in-depth about both types of drives so you can make an informed choice before you buy.
Use a NAS Storage
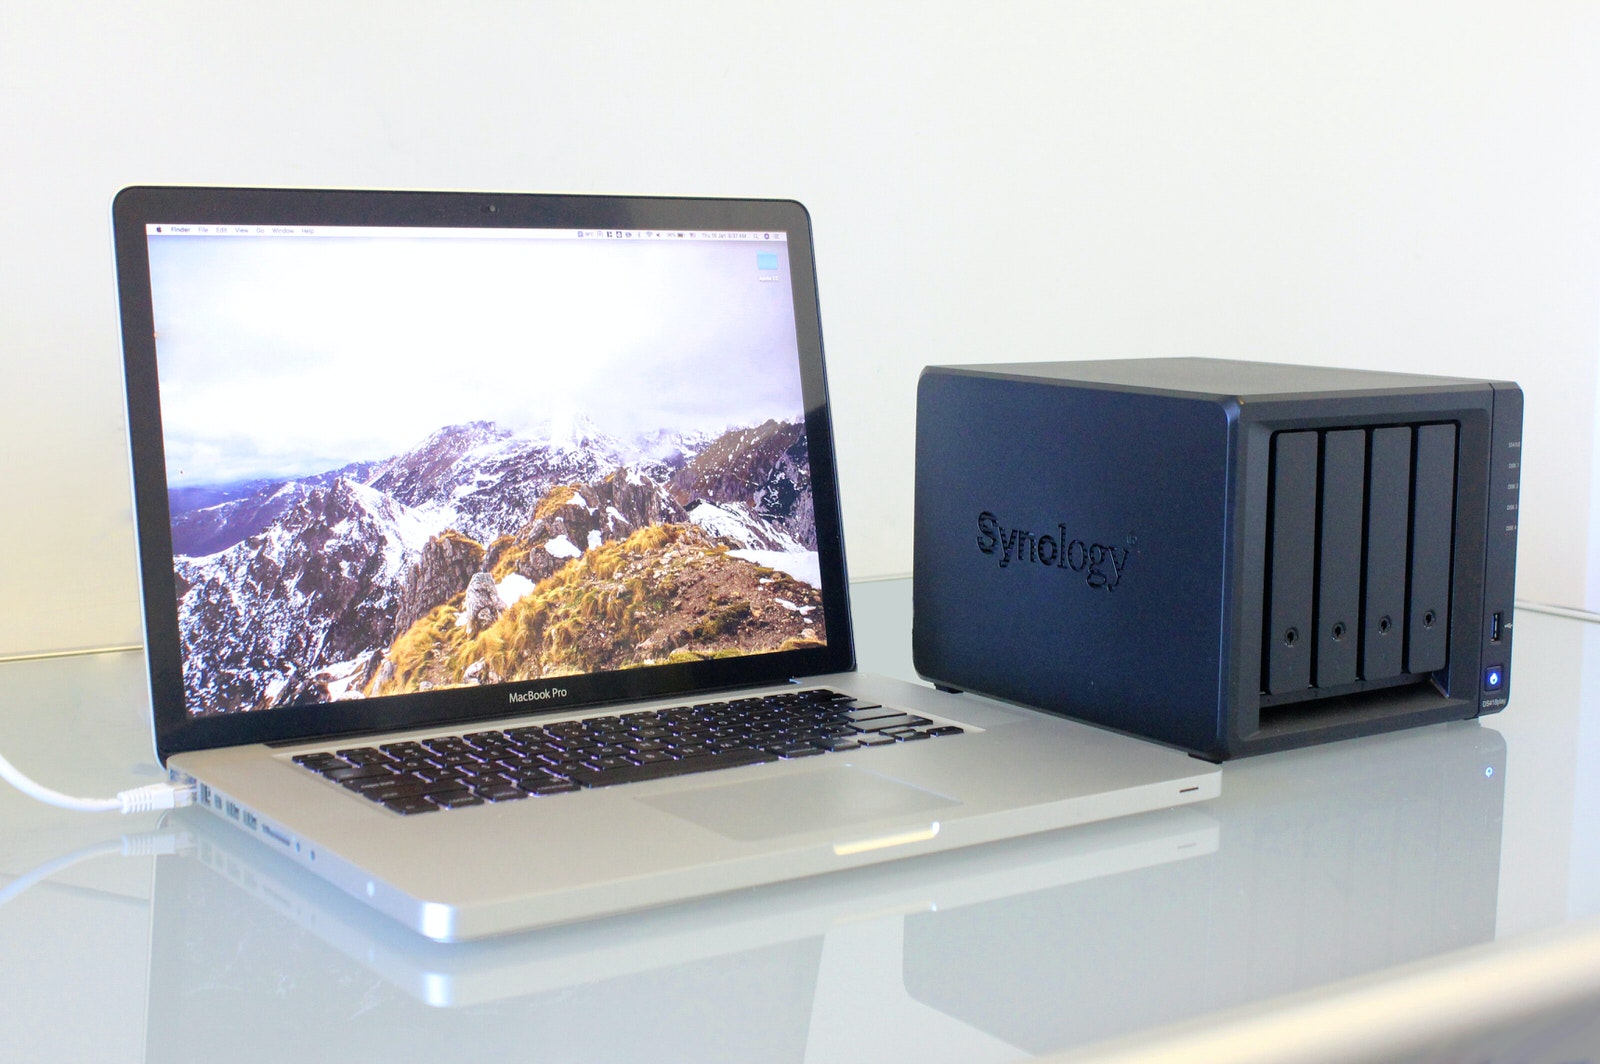
NAS stands for Network Attached Storage and is a hard disk storage device that connects to an office or home network. It attaches your hard drives to your network and backs up your photos, videos, and files without having to plug them in.
Using a NAS also allows you to access all your backed-up files from one central place. NAS acts as your private cloud service so you can easily access, download, and share your files wherever you work.
You can set up your NAS to sync to your cloud, so you don't have to wait for it to upload your files and can continue working on your device meanwhile. By comparison, if you use cloud storage alone, you need to have your device turned on for days while you wait for hundreds, if not thousands, of files to upload.
Although it can seem a costly investment, NAS is a flexible method of backing up your files and photos. If you travel or work from other locations, you'll find NAS particularly useful when you need to access your files on the go. Some NAS systems also have mobile apps, making file sharing even more effortless.
There are different ways you can configure your NAS system, and you can start small and add more storage or features as you go. For example, an extra backup option is to set up a Redundant Array of Independent Disks or RAID. Doing so gives additional safety if one of your drives fails.
Finish With Cloud Backup

The last step is to back up your photos, videos, and files on a cloud service. If an accident happens, like a flood or fire, you can rest assured because you can quickly restore your work.
Ideally, you want a cloud service that gives a continuous online backup. For example, you can select a particular drive or folder to automatically backup in the background whenever you add new files.
You'll find numerous choices of cloud storage services with different features and payment options. Although most have monthly or yearly subscriptions, some offer a one-off payment option, too.
When you compare different cloud-based options, consider which features are essential to you. For example, you may want an easy-to-use app on your mobile to quickly access your files on the go. Or, you may prefer to pay for unlimited storage instead of being constrained to 1TB, 2TB, or other storage sizes.
Get Started With Your Backup Process Today
Tried and tested by many of the best photographers worldwide, we suggest this backup process for every photographer! At first, you may find it daunting to set up the whole backup process in one go. However, you can pick out storage solutions that work for your needs and budget step by step.
Remember, the most important thing is to get started as soon as possible because your photos, videos, and other files are essential to running your business. Same as your business insurance, your backup workflow is there to help avoid stressful and costly incidents.
With that in mind, make sure you set time and money aside to create a safe and efficient backup system so you never have to worry about lost or corrupted files.
Anete Lusina
Photographer and Writer


