How to Use Narrative with Capture One: Integration Guide for Photographers

Wednesday, September 23, 2026
You came home with 2,000 frames. Capture One is where you want to spend the evening, shaping color and skin tones. It's not where you want to spend three hours deciding which of a dozen near-identical frames is the keeper. Pairing the two apps splits that evening in two: choose in Narrative, edit in Capture One.
Does Narrative work with Capture One?
Yes. Narrative added direct shipping to Capture One in December 2021 and has updated it since to support newer versions of Capture One, including Capture One 2023. Shipping to Capture One is included on every Narrative plan.
The two apps do different jobs. Narrative helps you decide which frames to keep. Capture One is where you edit them. If you're still deciding which editor fits your work, see our Capture One vs. Lightroom comparison.
Why cull in Narrative when Capture One has AI culling?
Capture One now has its own AI culling tool. Version 16.8.6, released September 16, 2026, includes Assisted Review, a beta feature that flags images with closed eyes, missed focus, and exposure problems. It can now run automatically while you shoot tethered, and it's available on desktop only (DPReview). If most of your work is tethered in a studio, it's worth trying.
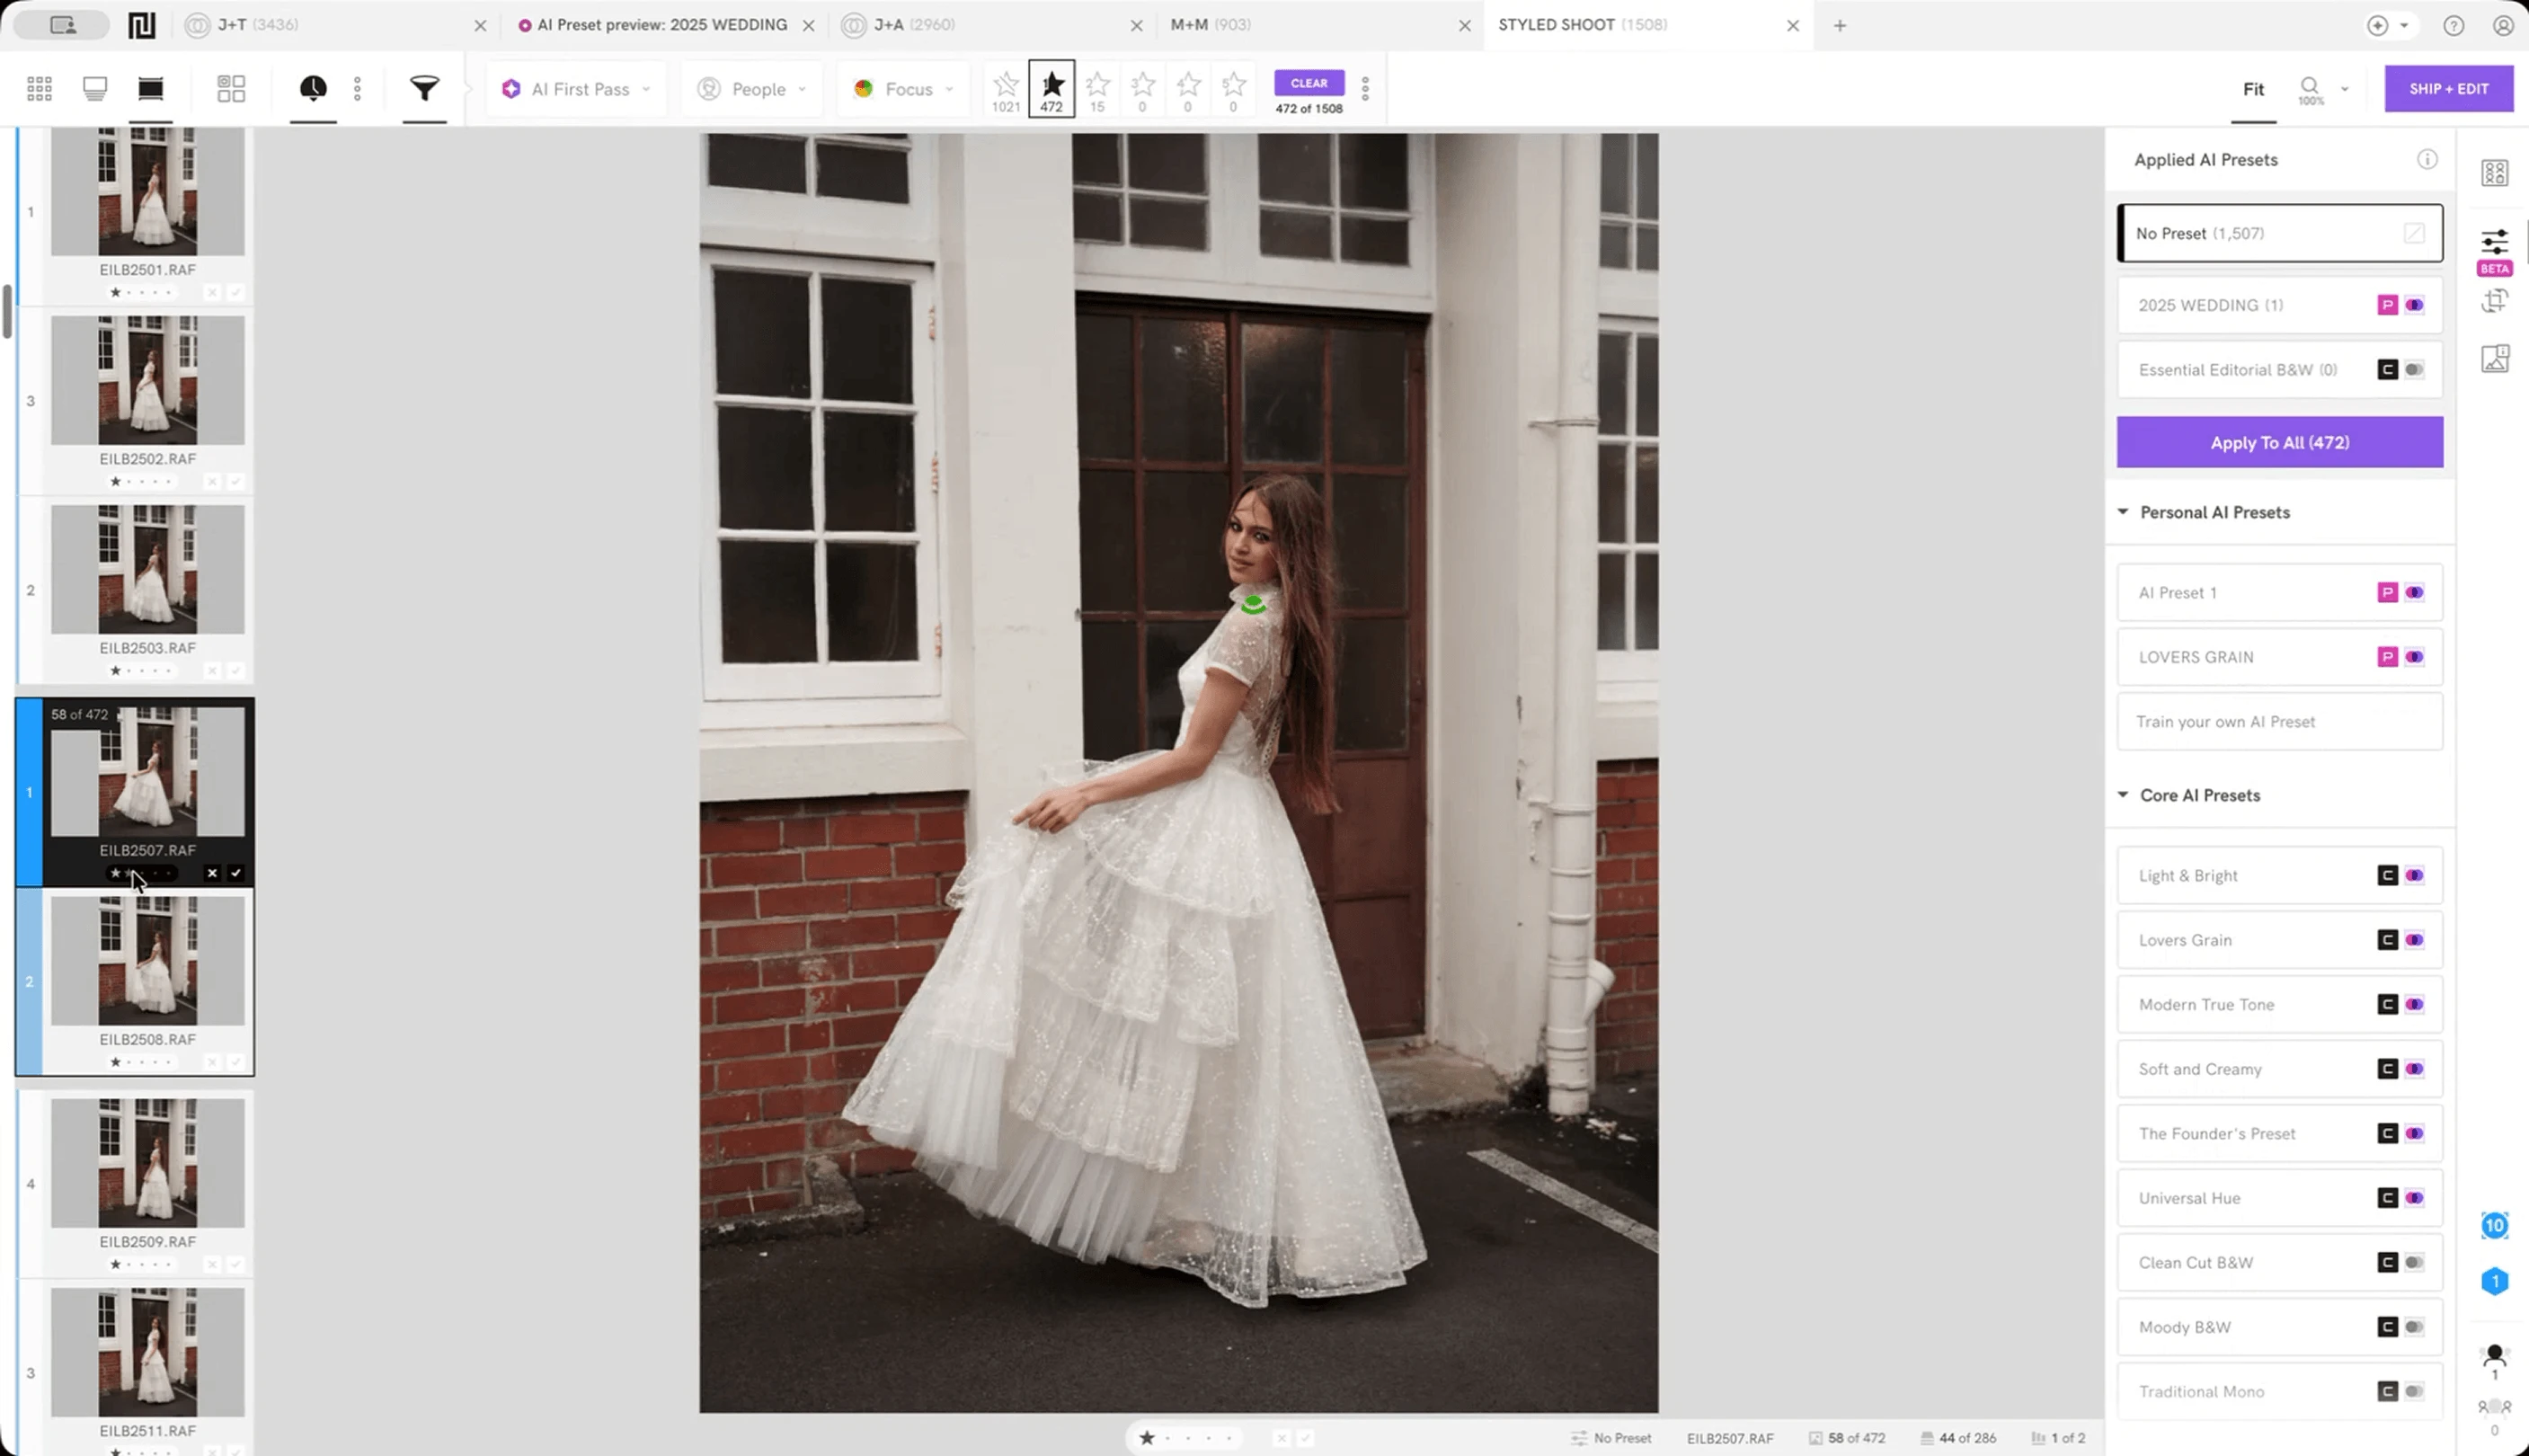
Narrative takes a different approach. Instead of flagging problem frames one at a time, it helps you compare similar frames side by side and pick the best one in each moment:
Scenes View groups a shoot into scenes and ranks every image in a scene by sharpness, so the best frame surfaces first.
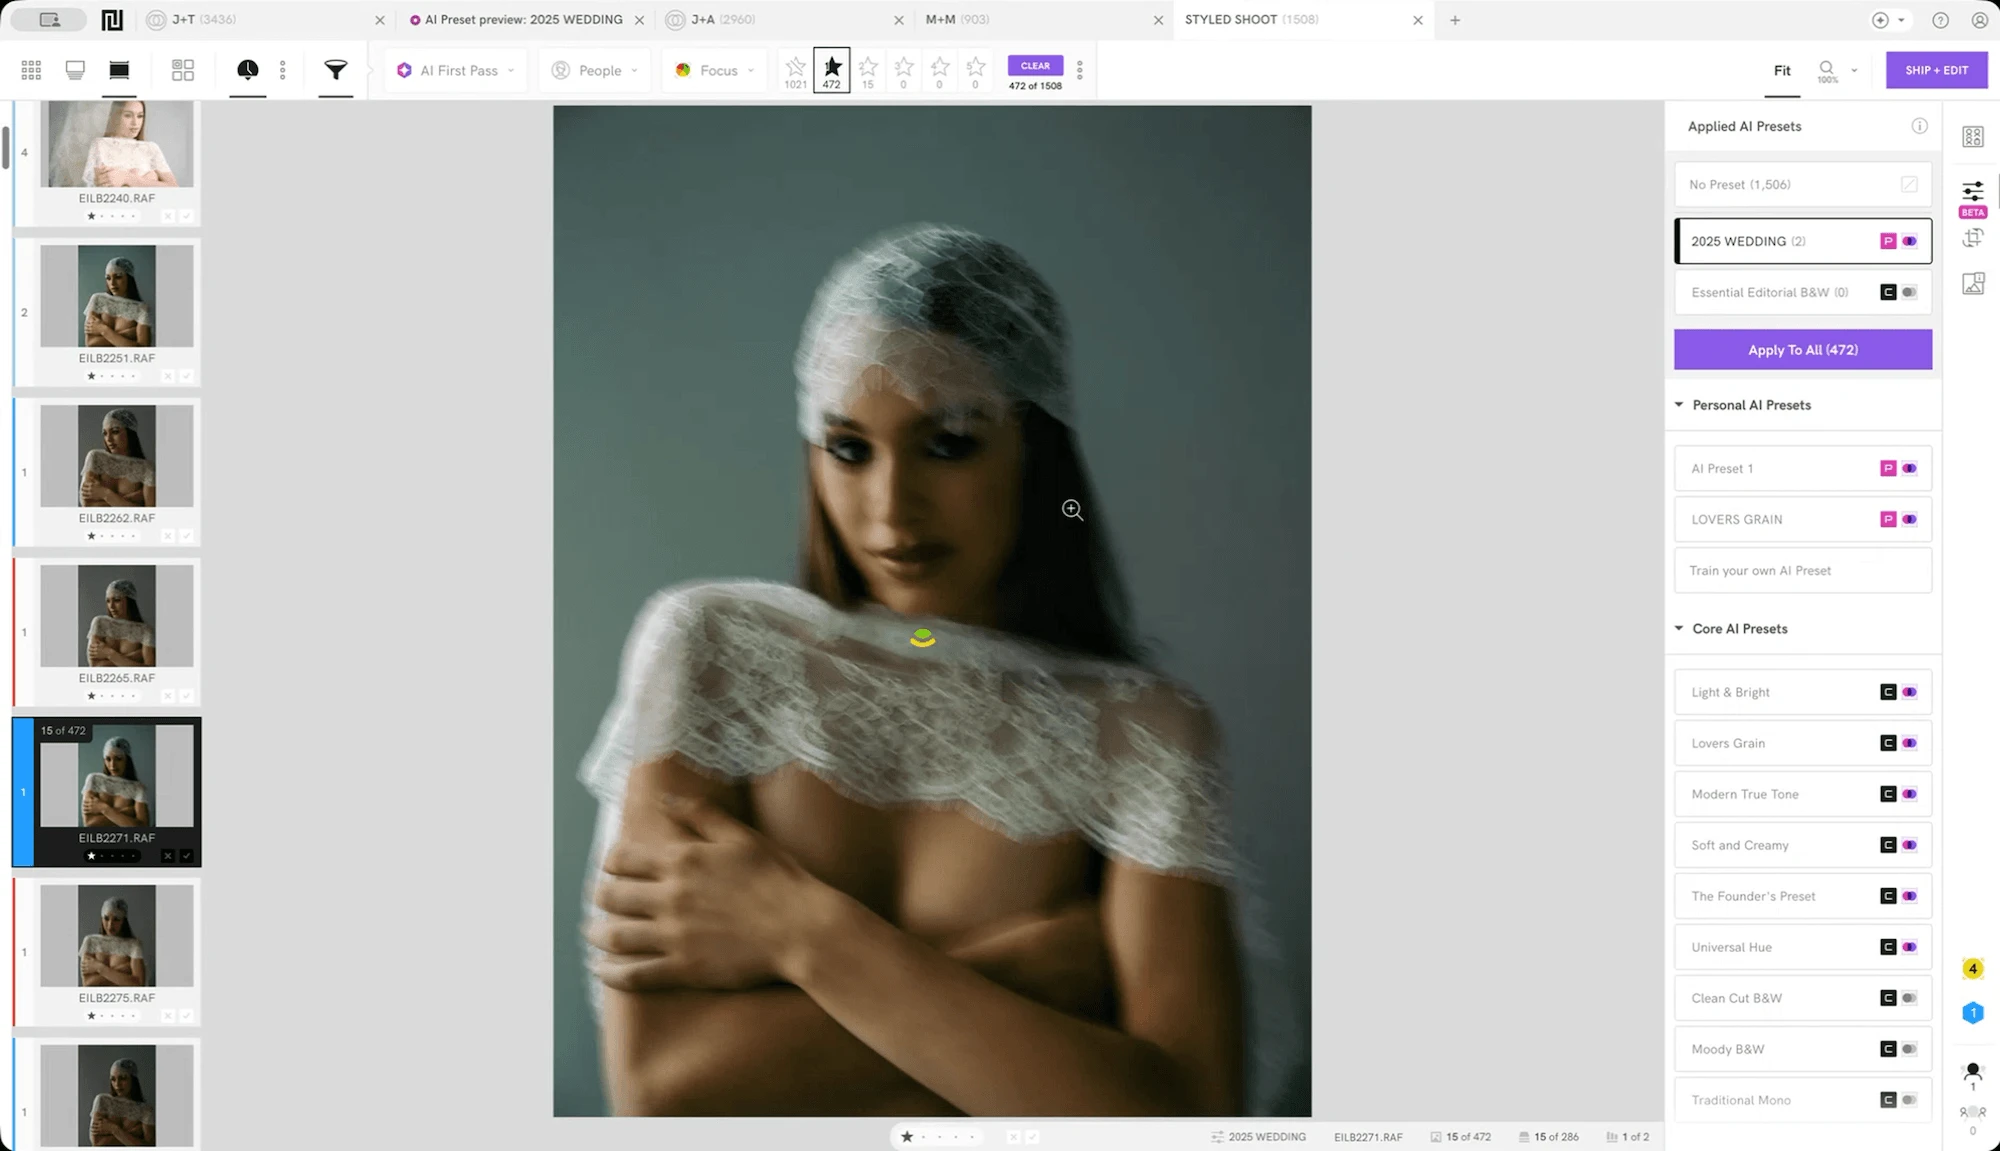
The Close-Ups Panel shows every face in a frame up close, without zooming or panning. When there's no face, it locks onto the most important element in the frame instead.
Face Assessments tell you whether each subject is in focus and whether their eyes are open, closed, blinking, or looking down.
Scenes View, the Close-Ups Panel, and full Face Assessments are included on the Standard plan and above. Side-by-side image comparison in Survey Mode is on every plan.
Narrative also works before you open Capture One. It can bring in thousands of RAW files in seconds, from several memory cards at once, while backing them up. It all runs on your computer, offline, with no cloud upload.
How to ship your selects from Narrative to Capture One on Mac
Before you start, open the Capture One catalog you want your images to go into. Narrative ships to the Capture One catalog you used most recently.
Cull your shoot in Narrative. Rate the frames you want to keep.
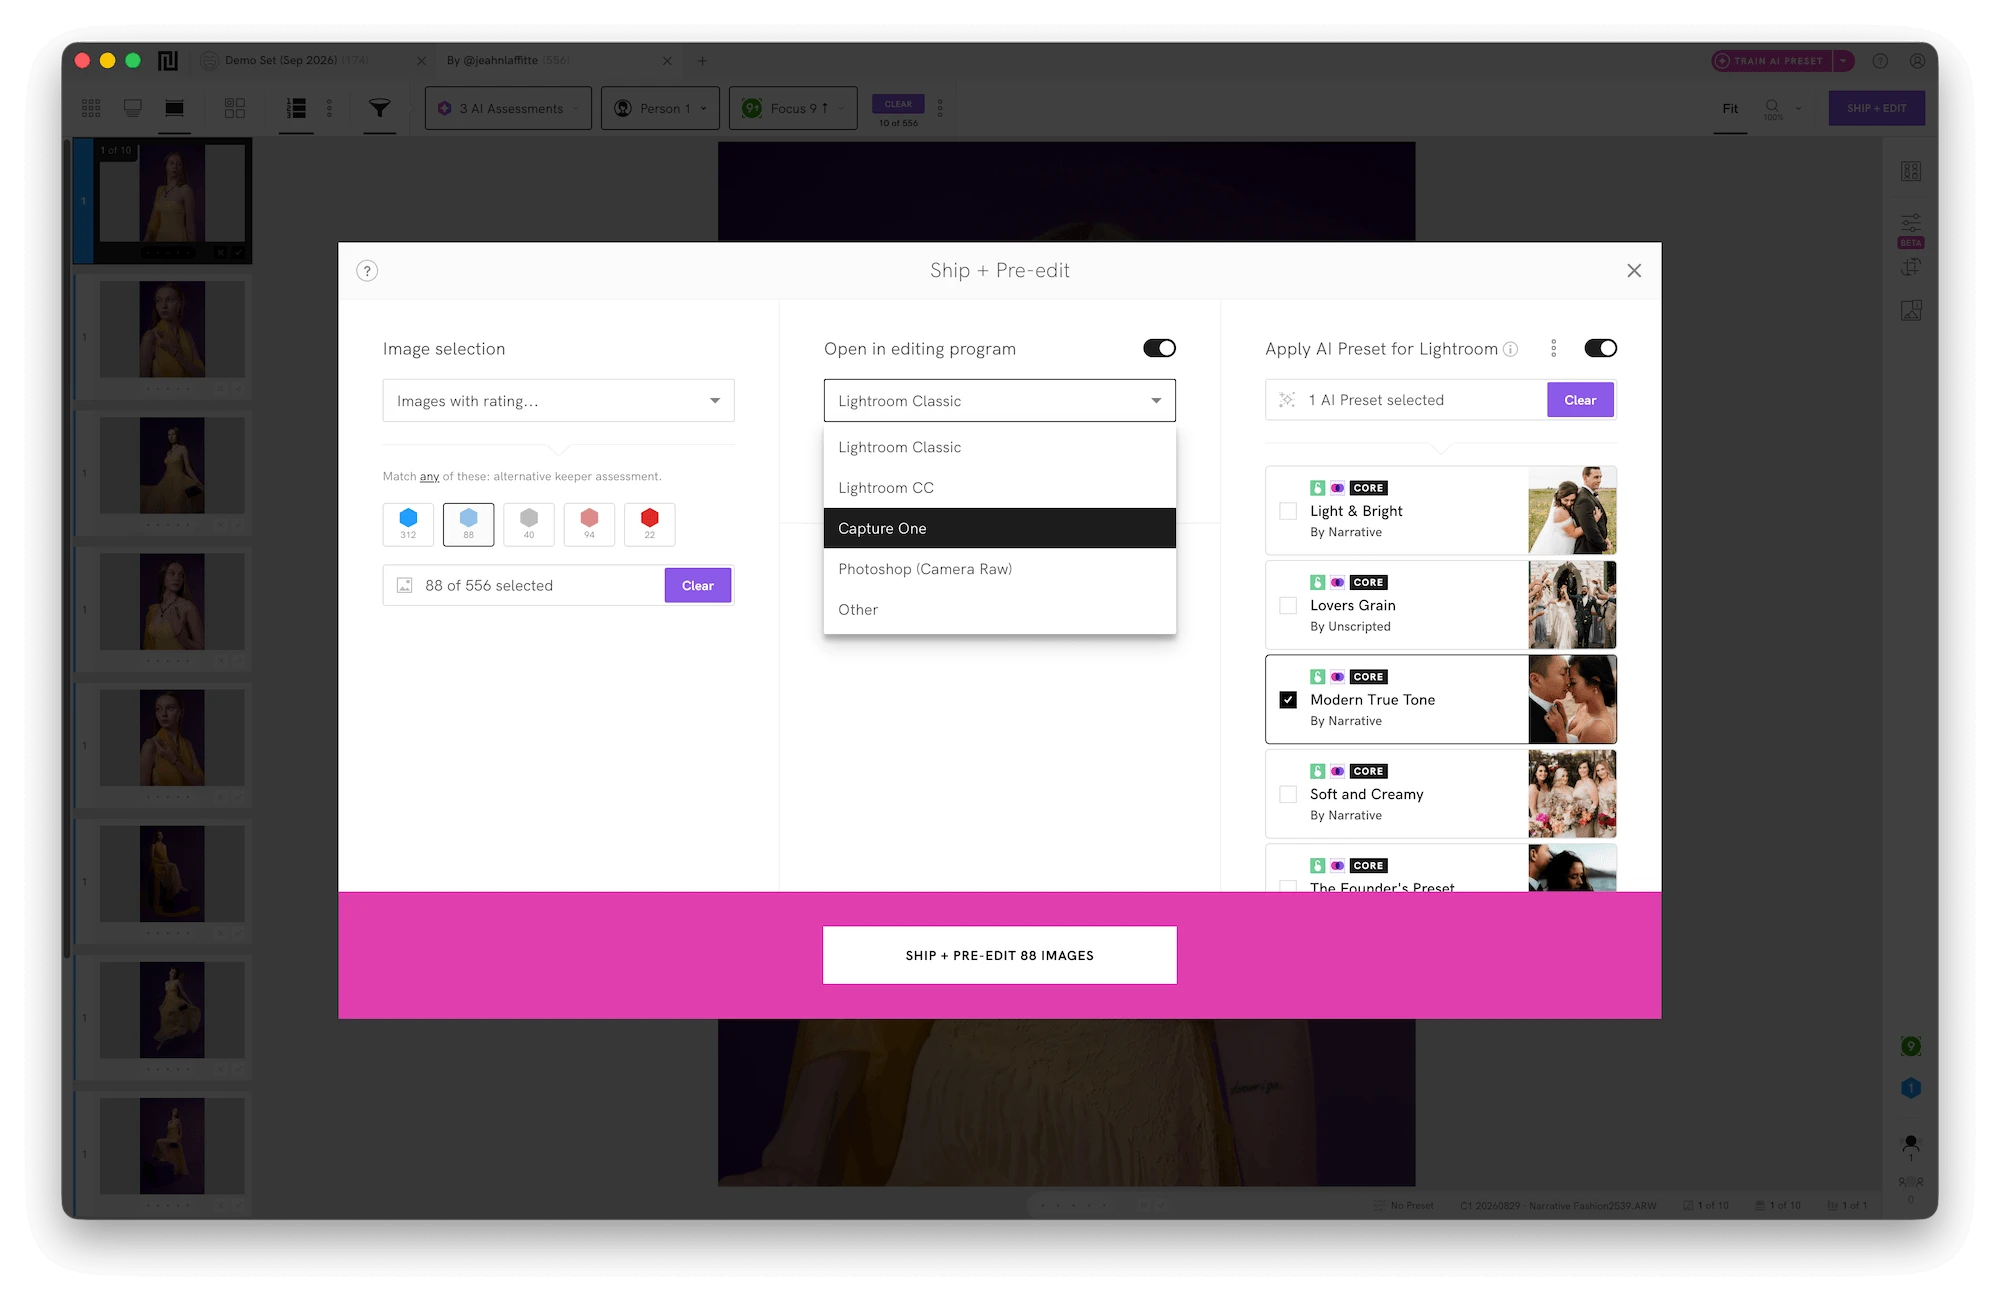
Click Ship + Edit in the top right corner of Narrative.
Choose Capture One from the drop-down menu.
Pick which ratings to send. Use the rating filters to choose which images go to Capture One, for example, only three stars and above.
Click OK when your Mac asks whether Narrative can control Capture One. You only need to do this the first time.
Your images will import into Capture One with the ratings you gave them in Narrative.
How to get your selects into Capture One on Windows
Select all the images you want to send in Narrative and drag them onto the Capture One icon.
What carries over from Narrative to Capture One
Your star ratings carry over. That makes ratings the bridge between the two apps, so it pays to decide what each rating means before you start culling and stick to it on every shoot. For example:
5 stars: hero images for the gallery or a blog post
4 stars: must-deliver frames
3 stars: good backups
Once your images land in Capture One, you can filter by rating and start editing your strongest frames first.
A simple Narrative and Capture One workflow
Import into Narrative straight from your memory cards, with backup running at the same time.
Cull by moment. Work through each scene in Scenes View. Use the Close-Ups Panel to check eyes and focus on every face, whether it's a first kiss, a toddler mid-laugh, or a model between poses.
Rate your keepers using your rating system.
Ship to Capture One (Mac) or drag your selects onto the Capture One icon (Windows).
Edit in Capture One, starting with your highest-rated frames.
Cull before you edit. Editing frames you'll later throw away wastes time and fills your catalog with half-finished adjustments.
Lightroom users can follow a similar process. See how to cull photos in Lightroom.
Troubleshooting Narrative and Capture One
Nothing happens when you ship to Capture One
Narrative needs permission to control Capture One on your Mac. Open System Settings, go to Privacy & Security, then Automation, and turn on Capture One under Narrative. On older versions of macOS, you'll find this under System Preferences > Security & Privacy > Automation.
Your ratings don't show up in Capture One
Check that XMP files (small files that store your ratings next to each photo) are in your source folder. Then, in Capture One, go to Image > Load Metadata.
Try it on your next shoot
The best test is a real shoot sitting in your backlog. Narrative offers a free trial on the Ultra plan, so you get the full feature set. Try Narrative free and ship your first selects to Capture One tonight.